

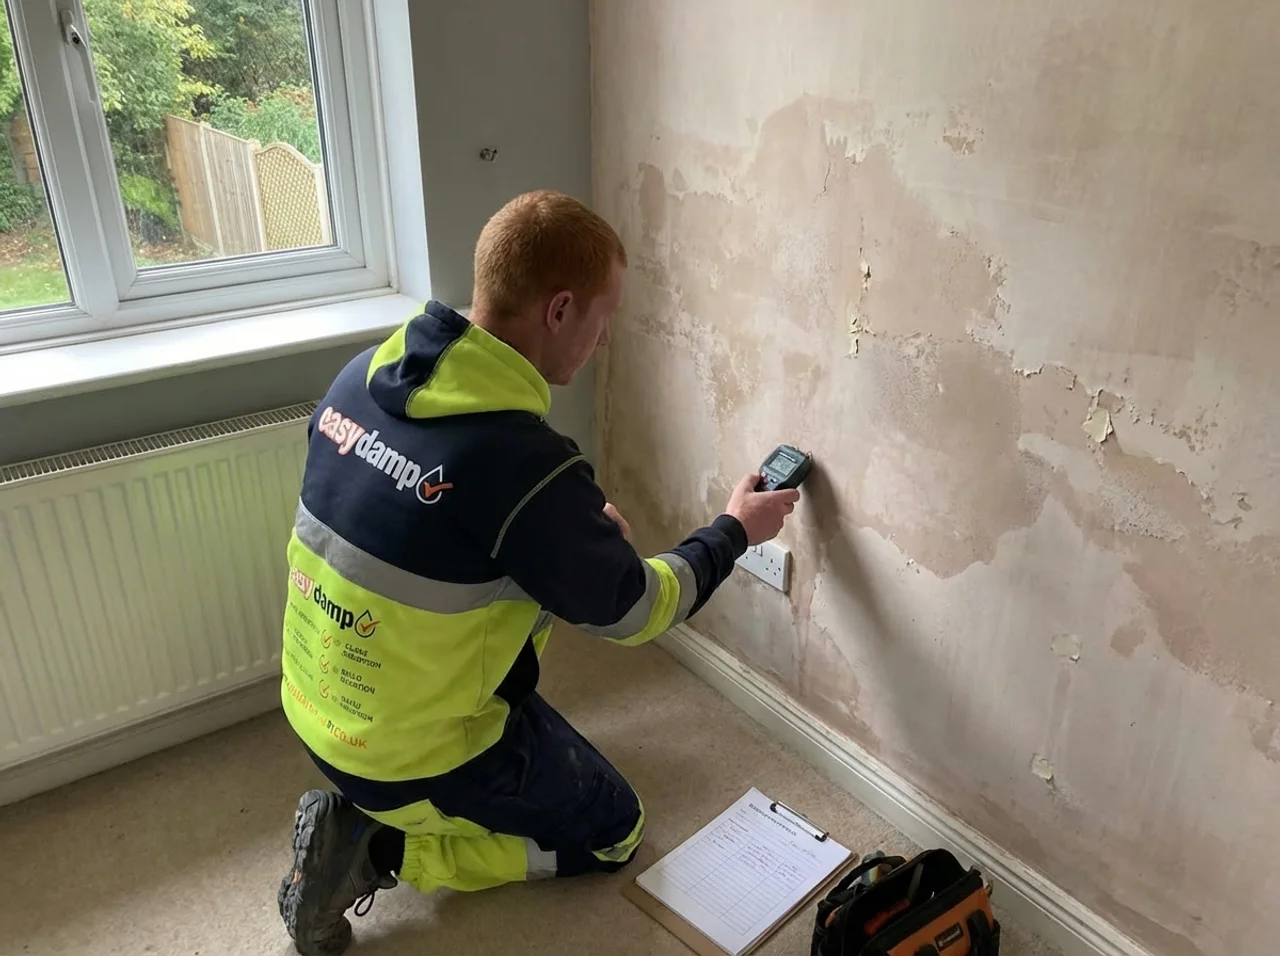
If you have never had a damp survey before, the process can feel uncertain. What will the surveyor actually do? How long will it take? Do you need to prepare anything beforehand?
This guide walks you through every stage of a professional damp survey, from preparation through to receiving your report, so you know exactly what to expect.
Before the Survey: How to Prepare
A little preparation helps the surveyor carry out a thorough inspection and ensures nothing important is missed.
Clear Access to Problem Areas
If you have noticed damp in specific areas, make sure the surveyor can reach them easily. This might mean:
- Moving furniture away from walls where you have seen damp patches, mould, or peeling paint
- Clearing items stored against external walls in cellars, garages, or utility rooms
- Ensuring access to loft spaces — the surveyor may need to check roof timbers and ventilation
- Unlocking outbuildings or attached garages where damp could be entering the main property
Note When Issues Appeared
The timing and pattern of damp problems provides valuable diagnostic information. Before the survey, make a note of when you first noticed the problem, whether it is constant or appears only during rainfall, whether it worsens in winter, and any recent changes to the property such as new windows or altered ground levels. This kind of detail helps the surveyor narrow down the cause quickly.
If you have any previous survey reports, building work records, or damp treatment guarantees, have them ready for the appointment.
The Survey Process: Step by Step
A thorough damp survey follows a structured approach, examining the property from the outside in.
Step 1: External Inspection
The surveyor begins outside the property. Many damp problems originate externally, so this is a critical part of the assessment. They will examine:
- Walls, pointing, and render — looking for cracks, erosion, or defects that allow rain penetration
- Damp proof course (DPC) — identifying the DPC line and checking whether it has been bridged by raised ground levels or render
- Gutters and downpipes — looking for leaks, blockages, or overflow directing water onto walls
- Ground drainage and roof condition — assessing water management and checking tiles, flashings, and chimney stacks
Step 2: Internal Room-by-Room Inspection
Moving inside, the surveyor systematically works through each room, paying close attention to:
- Walls at ground floor level — the most common location for rising and penetrating damp
- Window reveals and surrounds — checking for condensation patterns and failed seals
- Skirting boards, chimney breasts, and corners — common locations for moisture issues
- Cellars and below-ground spaces — assessing water ingress, waterproofing, and ventilation
Step 3: Moisture Readings
The surveyor takes moisture readings at multiple points to build a picture of moisture distribution. Readings are taken at various heights on affected walls because the pattern helps distinguish between damp types. Rising damp typically shows higher readings at the base that decrease with height, while condensation tends to produce more uniform readings.
Step 4: Thermal Imaging
Many professional surveyors use thermal imaging cameras to identify issues that are not visible to the naked eye. Thermal imaging reveals:
- Cold bridging — areas where heat escapes through the building fabric, often creating condensation
- Hidden moisture — damp areas that haven’t yet caused visible damage
- Insulation defects — gaps or failures in wall or roof insulation
- Plumbing leaks — hidden pipe leaks behind walls or under floors
Step 5: Timber Inspection
The surveyor checks exposed timbers — floor joists, skirting boards, window frames, and roof timbers — for signs of decay or infestation. They look for indicators of wet rot (soft, discoloured timber), dry rot (cracking wood, red-brown spore dust, white mycelium growth), and woodworm (small exit holes, fine bore dust).
Step 6: Ventilation Assessment
Inadequate ventilation is a major contributor to condensation damp. The surveyor checks that airbricks, extractor fans, and trickle vents are present and functioning, and identifies any rooms or areas with poor air circulation.
Equipment Used During a Damp Survey
Professional surveyors use a range of specialist equipment to ensure accurate diagnosis:
- Electrical resistance moisture meters — the standard tool for initial moisture screening across multiple points
- Hygrometers — measure relative humidity and dew point to identify condensation risk
- Thermal imaging cameras — detect temperature variations that indicate moisture or cold bridging
- Calcium carbide meters — the gold standard for accurate moisture content measurement in masonry
- Borescopes — small cameras for inspecting cavities and voids without causing damage
After the Survey: Your Report
Following the inspection, the surveyor prepares a detailed written report. This should include a clear diagnosis of each damp issue, root cause analysis, mapped moisture readings, photographic evidence, recommended treatments with explanations, priority guidance, and an estimate for any remedial work.
A good report explains everything in plain language. You should not need a building surveying degree to understand what has been found and what needs to happen next.
How Long Does a Damp Survey Take?
The duration depends on the size of the property and the complexity of the issues, but as a general guide:
- Small flat or apartment — approximately 30 to 60 minutes
- Standard terraced or semi-detached house — approximately 1 to 2 hours
- Larger detached property or one with a cellar — 2 hours or more
A survey that takes only 10 to 15 minutes is almost certainly not thorough enough to provide a reliable diagnosis.
Questions to Ask Your Surveyor
Don’t hesitate to ask questions during or after the survey. A good surveyor welcomes them. Consider asking:
- What type of damp have you identified, and how can you tell?
- What is causing the problem?
- Are there any simple steps I can take myself to improve things?
- What treatment do you recommend, and why this approach over alternatives?
- How long will the treatment take, and what disruption should I expect?
- What guarantees do you offer, and are they insurance-backed?
Book Your Survey With Easy Damp
If you have spotted signs of damp in your property, the sooner you get a professional diagnosis, the simpler and less costly the solution is likely to be. Early intervention prevents small problems from becoming major ones.
Easy Damp provides thorough, professional damp surveys across Greater Manchester and the North West. Our qualified surveyors take the time to inspect your property properly, explain their findings clearly, and provide honest recommendations with no obligation to proceed.
Ready to get answers? Call us on 0161 527 6777 or book your damp survey online today.
