

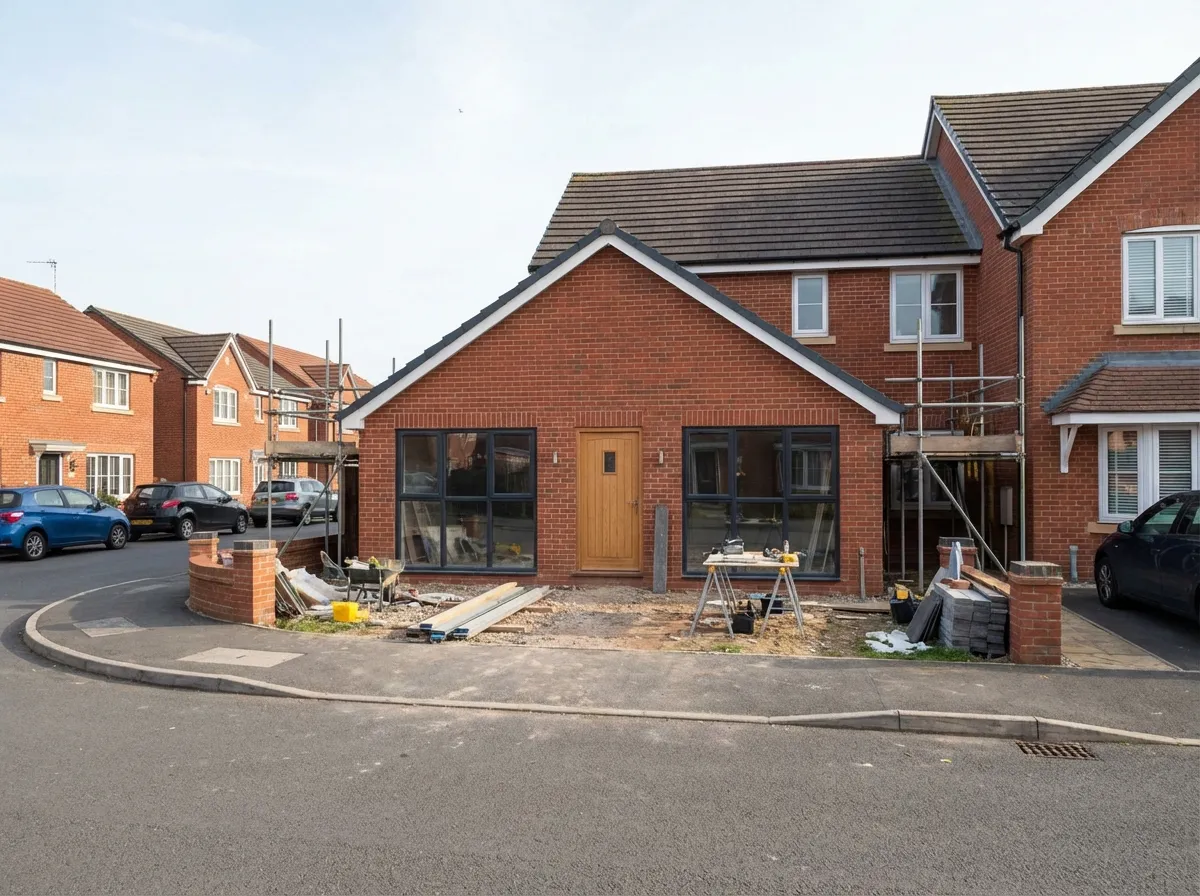
“How long will it take?” is one of the first questions every homeowner asks about a garage conversion. The honest answer depends on the scope of your project — but most single garage conversions take 4–6 weeks from start to finish, with double garages and more complex conversions taking 6–10 weeks.
Here’s a realistic, week-by-week breakdown so you know exactly what to expect.
Before Work Starts: The Planning Phase
Week -4 to -2: Survey and Design
Before any tools come out, there’s essential preparation:
- Site survey — assessing the garage structure, foundations, damp conditions, and services
- Design discussions — finalising the room layout, window positions, and specification
- Structural calculations — if you’re opening up to the house, a structural engineer designs the steel beam
- Building regulations application — submitting plans to building control (allow 2–3 weeks for approval)
Week -2 to 0: Pre-Construction
- Building control approval received (or initial notice accepted)
- Materials ordered — steel beams, windows, insulation, plasterboard, etc.
- Skip delivered — for waste removal
- Services arranged — electrician, plumber, and building control inspection dates booked
The Build: Week by Week
Week 1: Strip Out and Structural Work
What happens:
- Remove the garage door and any internal fittings
- Strip existing wall and floor finishes
- Excavate for the new front wall foundation (where the garage door was)
- Pour the foundation concrete for the new wall
- If creating an opening to the house: install temporary support props, cut the opening, fit the steel beam
You’ll see: The garage looking considerably worse than when you started — this is normal. It’s a demolition phase.
Building control visit: Foundation inspection before concrete is poured.
Week 2: New Wall, Windows, and DPC
What happens:
- Build the new front wall with brickwork to match the house
- Install the new window and/or external door
- Establish or repair the damp proof course (DPC)
- Install the floor membrane for damp proofing
- Begin raising the floor level if needed (to match the house floor)
You’ll see: The garage starting to look like a room, with the garage door opening filled in and new windows fitted.
Week 3: Insulation and Services First Fix
What happens:
- Install wall insulation (rigid insulation boards between timber battens or directly to walls)
- Install floor insulation
- Ceiling insulation fitted
- Electrical first fix — running cables for lighting, sockets, and any data/TV points
- Plumbing first fix — if adding a bathroom, the pipework is roughed in
- Heating first fix — radiator pipework or underfloor heating cables/pipes laid
- Ventilation ducting installed
You’ll see: Insulation boards covering the walls, cables and pipes running everywhere, and the space starting to feel warmer.
Building control visit: Insulation and services inspection before covering up.
Week 4: Plasterboard and Plastering
What happens:
- Plasterboard fixed to walls and ceiling
- Joints taped and filled
- Skim plastering applied (or dry lining with taped joints)
- This creates the smooth, finished wall and ceiling surfaces
You’ll see: A dramatic transformation — suddenly it looks like a real room. The plaster needs at least 1 week to dry before decoration.
Week 5: Floor, Second Fix, and Finishes
What happens:
- Floor screed or timber subfloor installed (if not already done)
- Flooring laid — carpet, engineered wood, vinyl, or tiles
- Electrical second fix — fitting sockets, switches, light fittings, and consumer unit upgrades
- Plumbing second fix — fitting bathroom suite, taps, and connections (if applicable)
- Radiators or towel rails hung and connected
- Skirting boards and architraves fitted
You’ll see: The room coming together rapidly. This is the most satisfying week.
Week 6: Decoration and Completion
What happens:
- Painting and decorating
- External making good — matching brickwork, rendering, or cladding around the new wall
- External drainage adjustments
- New driveway surface where the garage entrance was (if needed)
- Final clean
- Snagging inspection — checking every detail
Building control visit: Final inspection for completion certificate.
You’ll see: A finished room ready for furnishing.
Factors That Affect the Timeline
Things That Speed Up the Process
- Simple room conversion (no bathroom, no opening to the house) — can be done in 3–4 weeks
- Good weather — external work progresses faster in dry conditions
- Pre-ordered materials — no waiting for deliveries mid-project
- Experienced contractors — familiarity with the process means fewer delays
Things That Slow It Down
- Structural openings to the house — steel beams add complexity and time (allow an extra week)
- Adding a bathroom — plumbing adds 1–2 weeks depending on complexity
- Foundation issues — if existing foundations are inadequate, underpinning adds time
- Asbestos — if the garage roof contains asbestos (common pre-1990), it needs professional removal before work starts. This can add 1–2 weeks and additional cost
- Bad weather — external brickwork and rendering can’t be done in freezing conditions or heavy rain
- Building control delays — occasional delays in inspection scheduling
Double Garage Conversions
Double garages take longer due to the larger area:
- Simple conversion: 6–8 weeks
- With bathroom and/or structural opening: 8–10 weeks
- Self-contained annexe with kitchen and bathroom: 10–14 weeks
Living Through a Garage Conversion
The good news is that garage conversions cause less disruption than most building projects:
- No scaffolding on the house
- Work is contained to the garage area (mostly)
- No rooms in the house need to be cleared or vacated
- Noise and dust are limited to the garage and immediate surroundings
- Access to the house is unaffected
The main disruption points are:
- When creating an opening to the house — there will be dust and noise in the adjoining room for 1–2 days
- Electrical upgrades — the consumer unit may need upgrading, requiring a brief power interruption
- External work — front of the house may look untidy during construction
Tips for a Smooth Project
- Clear the garage completely before work starts — including shelving, stored items, and anything fixed to walls
- Agree a detailed schedule with your contractor before starting
- Be available for decisions — delays often happen because a homeowner can’t be reached to approve a choice
- Budget for contingency — 10–15% for unexpected findings
- Communicate with neighbours — let them know about the work and expected duration
Ready to Start?
At Easy Damp, our garage conversion projects are professionally managed with clear timelines and regular communication. We’ll give you a realistic schedule at the quoting stage and keep you informed throughout.
Book a free survey and we’ll assess your garage and provide a detailed timeline and quote for your project.
