

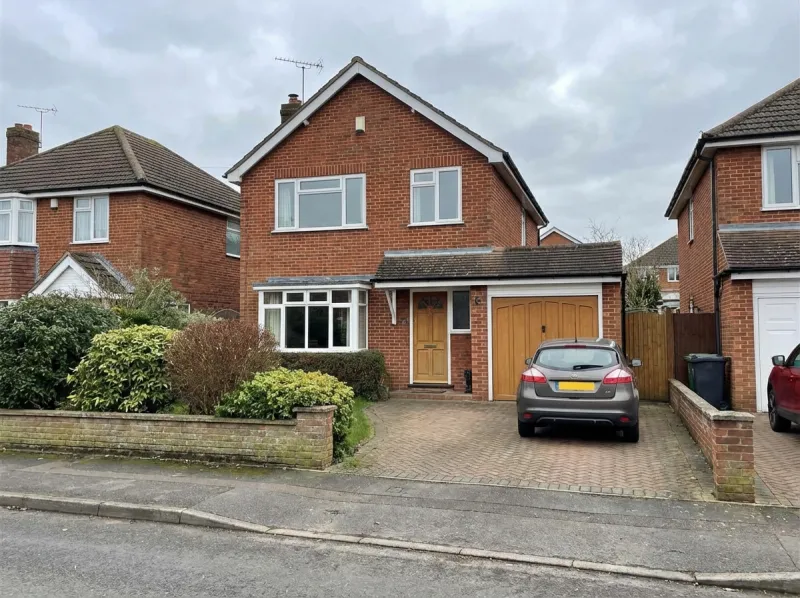
A garage without insulation is essentially a brick box. In summer it bakes, in winter it freezes, and all year round it’s uncomfortable. Transforming it into a habitable room requires insulation that meets current building regulations — and getting this right is fundamental to the success of your conversion.
Here’s everything you need to know about insulating your garage conversion properly.
Why Insulation Matters So Much
Garages were built to protect cars, not people. They typically have:
- Single-skin walls with no cavity
- Concrete floors with no insulation
- Uninsulated roofs or ceilings
- A large opening (the garage door) that’s been removed
Without proper insulation, you’ll face:
- Excessive heating costs — an uninsulated room can cost three times more to heat
- Condensation and mould — cold surfaces attract moisture from warm indoor air
- Uncomfortable temperatures — too cold in winter, too warm in summer
- Building regulations failure — the conversion won’t pass inspection
Building Regulations Requirements
Part L of the building regulations sets minimum thermal performance standards. For a garage conversion, the key metric is the U-value — a measure of how quickly heat passes through a building element. Lower numbers mean better insulation.
Current requirements (2025):
| Element | Maximum U-value (W/m²K) |
|---|---|
| External walls | 0.30 |
| Floor | 0.25 |
| Roof/ceiling | 0.16 |
| Windows | 1.4 |
| External doors | 1.4 |
These are minimums — better performance is always worthwhile as it reduces long-term energy costs.
Wall Insulation Options
Rigid Insulation Board (PIR/PUR)
The most common approach for garage conversions. Rigid boards like Celotex or Kingspan are fixed to the inside of the walls.
How it’s installed:
- Timber battens fixed to the wall (typically 50mm x 50mm or larger)
- Insulation boards cut to fit between battens
- A vapour control layer applied over the insulation
- Plasterboard fixed to the battens
- Skim plaster or dry lining finish
Typical thickness: 75–100mm (including battens and plasterboard, the total wall build-up is approximately 90–120mm)
Advantages:
- Excellent thermal performance per millimetre (the best of any common insulation)
- Moisture resistant
- Easy to cut and fit
- Clean installation
Space impact: You’ll lose approximately 100–120mm per wall from the room dimensions. For a single garage that’s 3m wide, this reduces the internal width to approximately 2.76m — still perfectly usable.
Insulated Plasterboard
Pre-bonded insulation board with plasterboard already attached. Simplifies the installation as it combines two steps.
Typical thickness: 50–100mm insulation plus 12.5mm plasterboard
Advantages:
- Faster installation (fewer stages)
- Can be dot-and-dab fixed directly to flat walls
- Good for walls that are already reasonably flat
Considerations:
- Requires a flat, dry wall surface for dot-and-dab application
- May not achieve required U-values at thinner sizes without additional insulation
Stud Wall with Mineral Wool
A timber or metal stud frame is built against the wall, filled with mineral wool (glass or rock wool), then boarded.
Typical thickness: 100mm studs with mineral wool, plus plasterboard
Advantages:
- Cost-effective for large areas
- Easy to route services (cables, pipes) through the stud framework
- Good acoustic performance (mineral wool absorbs sound)
Considerations:
- Takes up more space than rigid board solutions
- Mineral wool is moisture-sensitive and needs a vapour barrier
Floor Insulation Options
Insulation Over the Existing Slab
The most common approach. Insulation is laid on top of the existing garage floor.
Typical build-up:
- Damp proof membrane (DPM) over the existing concrete
- Rigid insulation boards (typically 75–100mm)
- Chipboard or plywood overlay
- Final floor finish (carpet, vinyl, engineered wood)
Total height added: Approximately 100–130mm
Consideration: This raises the floor level. If the garage floor is already lower than the house floor (common), this can actually help bring the levels closer together. If the garage floor is at house level, the step up needs to be managed with a threshold detail.
Insulation Below a New Screed
If the floor level needs to be raised significantly, a new screed can be poured over the insulation:
- DPM
- Rigid insulation
- Self-levelling screed (40–60mm)
- Floor finish
This provides a solid, level surface and works well with underfloor heating, which can be embedded in the screed.
Underfloor Heating Integration
The floor insulation phase is the ideal time to install underfloor heating:
- Electric mat systems — laid on top of insulation, under tiles or screed. Lower cost, easier to install
- Wet (water-based) systems — pipes laid over insulation, encased in screed. More economical to run, works with the existing boiler
Underfloor heating is particularly popular in garage conversions because it eliminates the need for wall-mounted radiators, preserving wall space in what is already a compact room.
Ceiling and Roof Insulation
Flat Roof Garage
If your garage has a flat roof, insulation is installed between and below the ceiling joists:
- Mineral wool between the joists plus rigid board below (warm deck construction)
- A ventilation gap must be maintained above the insulation to prevent condensation in the roof structure
- Total insulation depth typically 200mm+ to meet the 0.16 U-value requirement
Pitched Roof Garage
If the garage has a pitched (sloped) roof and you want to maintain the ceiling height:
- Insulation at rafter level — between and below the rafters
- Ventilation gap maintained between the insulation and the roof covering (minimum 50mm)
- This allows you to use the full height of the roof space
If ceiling height isn’t critical:
- Insulation at ceiling level — laid across the ceiling joists (like a loft)
- Simpler and cheaper
- The space above becomes a cold loft void
Common Insulation Mistakes
Not Using a Vapour Control Layer
Without a vapour barrier on the warm side of the insulation, moisture from the room can penetrate the insulation and condense on the cold wall behind it. This leads to hidden damp, mould, and insulation failure.
Solution: Always install a vapour control layer between the insulation and the plasterboard.
Leaving Gaps and Cold Bridges
Insulation must be continuous. Gaps around windows, at floor-wall junctions, and where walls meet the ceiling create cold bridges where condensation will form.
Solution: Pay careful attention to detailing at all junctions. Use expanding foam to seal small gaps and tape joints in the vapour barrier.
Insufficient Thickness
Using thinner insulation to save space or cost might not meet building regulations. Building control will check the specified U-values.
Solution: Calculate the required thickness properly (your contractor or building control can advise) and use the right thickness from the start.
Ignoring the Garage Door Opening
The wall replacing the garage door needs to match the insulation performance of the other walls. Since it’s a new construction, it’s usually easier to achieve good U-values here.
Forgetting Acoustic Insulation
If the garage shares a wall with a living room or bedroom, consider acoustic insulation as well as thermal. Mineral wool offers better sound absorption than rigid board alone.
Cost of Garage Insulation
Insulation costs vary depending on a number of factors, including the size of your garage, the construction of the walls (single-skin versus cavity), the insulation method chosen, and whether you opt to include underfloor heating. Ceiling and roof insulation requirements also differ depending on whether the garage has a flat or pitched roof.
Insulation is a significant but worthwhile part of the overall project cost — it pays back through reduced energy bills and a genuinely comfortable room. For a clear picture of what insulation will cost for your specific garage, contact us for a free survey and we’ll provide a detailed quote.
Get Expert Advice
Insulation choices affect everything — room dimensions, floor levels, heating costs, and comfort. At Easy Damp, we design the insulation strategy for each garage conversion to maximise thermal performance while preserving as much usable space as possible.
Contact us for a free survey and we’ll specify the right insulation approach for your garage.
